If you want to make your kitchen or bathroom look better and work better. Think about putting in Schrock cabinets. Schrock cabinets are famous for being well-made and stylish. The good news is that you can put them in yourself with just a few easy steps.
We’ll show you how to install Schrock cabinets. Before we start, make sure you have all the tools and materials you need. Installing Schrock cabinets is a great way to create more storage space and give your kitchen or bathroom a fresh, modern look. Plus, doing it yourself will save you money on installation costs.
So, let’s find out how to put them in step by step. With a little patience and these simple instructions, you’ll be enjoying your new cabinets before you know it!
What are Schrock Cabinets?
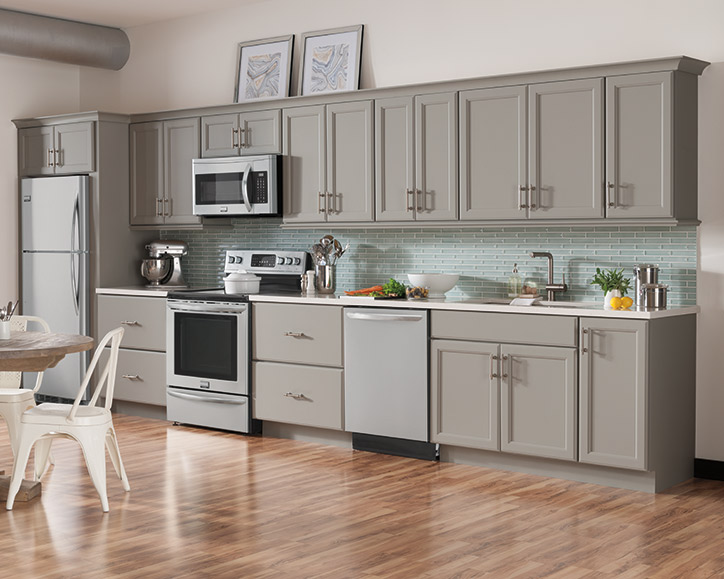
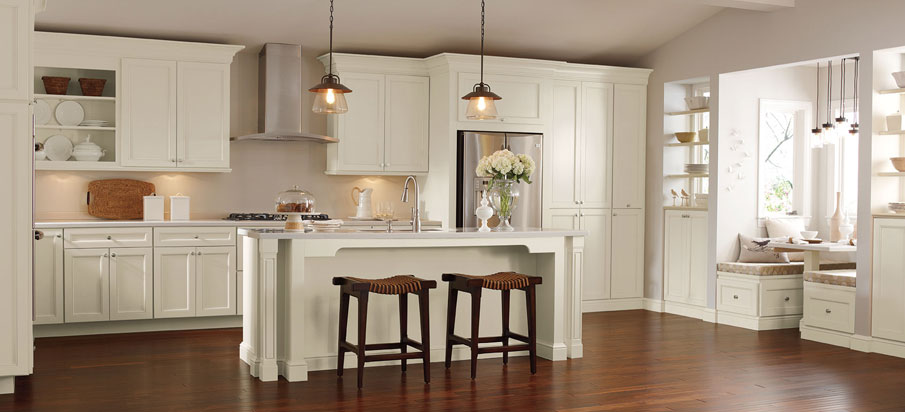
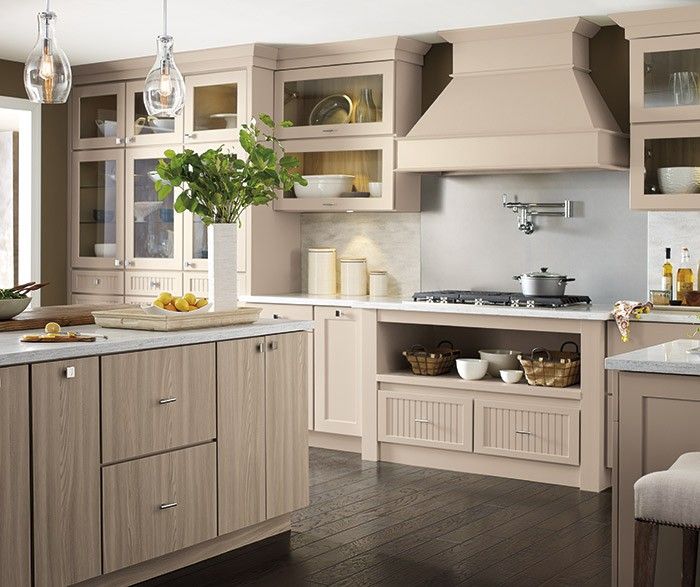
Schrock cabinets are ideal, good-looking cabinets that can change your kitchen, bathroom, or any room you want. People love them because they are well-made, strong, and look great. Schrock cabinets are carefully crafted and made with lots of care. You can get them in many different styles, colors, and sizes to match what you like and what you need. For more information about these cabinets, go through Schrock cabinet reviews.
How to Install Schrock Cabinets
- Prepare Your Kitchen: Before you begin, make sure your kitchen is empty and set up a dedicated work area. Take out any appliances, old cabinets, or things in the way. It’s crucial to have a clean and clear space to work in.
- Examine the recently acquired Schrock cabinets: Carefully examine your new Schrock Cabinets upon delivery. Check for damage or defects. Ensure that all the necessary components, including screws, brackets, and cabinet doors, are included. This step is crucial to avoid complications during installation.
- Locate High Spots on the Floor: To check your kitchen floor for uneven spots, grab a level. These pesky bumps might make your cabinets wobble or not fit easily against the wall. If you find any uneven areas, fix them by using shims to make the floor nice and level.
- Indicate the Upper Position on the Schrock Base Cabinets: To ensure that your base cabinets are installed at the correct height and level, mark a horizontal line on the wall where the top of the cabinets will sit. Use a level to ensure accuracy. This guideline will serve as a reference point during installation.
- Mark the Bottom of the Wall Schrock Cabinets: Just as you marked the top of your base cabinets in the previous step, now mark the bottom of your wall cabinets. Use a level to ensure a straight and level line. This will help you align and hang the wall cabinets accurately.
- Set Wall Studs: To securely attach your cabinets to the wall, it’s crucial to locate and mark the positions of wall studs. Wall studs provide the necessary support for the cabinets. You can use a stud finder or tap the wall to listen for the sound change that indicates the presence of a stud.
- Select Hardware: Choosing the right hardware, such as screws, anchors, and brackets, is essential for a stable and long-lasting installation. Follow the manufacturer’s recommendations for hardware selection.
- Start Corner Installation: If you have corner cabinets, starting with their installation is a strategic choice. Begin by attaching corner cabinets to one another and then securing them to the wall. Ensure they are level and plumb as you work.
- Hang the Wall Cabinets: Start by hanging the wall cabinets one by one. Use the marked lines and the located wall studs as guides. Carefully attach each cabinet to the wall, ensuring they are level and securely anchored. Pay close attention to alignment, as this will affect the overall appearance of your kitchen.
- Set the Base and Tall Cabinets: With the wall cabinets securely in place, proceed to install the base and tall cabinets. Follow the layout plan you’ve designed, ensuring that each cabinet fits easily against the others. Use shims as needed to maintain level and plumb alignment. Secure them to the wall and to each other where applicable.
- Install Remaining Schrock Cabinets: Continue installing any remaining Schrock Cabinets according to your kitchen layout. Take your time to ensure that each cabinet is correctly positioned and securely fastened. Double-check alignment and levelness as you go.
- Adjust Drawers: Once you’ve installed all the cabinets, it’s time to make sure the drawers work smoothly. Check if they’re lined up correctly, and if not, tweak them until they open and close easily. Doing this right will not only make your cabinets work better but also look nicer.
Conclusion
Installing Schrock cabinets is a manageable task if you follow the steps carefully. First, gather all your tools and materials. Then, measure and plan where your cabinets will go. Make sure they are leveled and secured on the wall. Assemble the cabinets according to the instructions provided.
Use screws and brackets to hold them in place. Don’t forget to attach the doors and handles. After that, it’s time to install the countertops. Make sure they fit right on top of the cabinets. Then, connect the plumbing and electrical if needed. Double-check if everything is secure and in place. Safety is important when installing cabinets.
With patience and attention to detail, you can have beautiful Schrock cabinets in your home.