Crafting a photobook is a satisfying way to preserve memories and showcase your creativity. As a crafter, you know this DIY project can be as unique as your crafts themselves, offering a bespoke way to display photographs, commemorate events, or narrate a story through images.
For beginners, the process might seem daunting, but with the right guidance, you can easily transform your crafting enthusiasm into a beautiful, tangible record of your favorite moments. A photobook serves not only as a personalized display of your work but also as an heirloom that can be appreciated for years to come.
Approach this project as you would any craft: with patience and imagination. By channeling your craft skills into photobook creation, you’ll find that the end result is more than just a collection of pictures; it’s a reflection of your passion and an embodiment of your artistic journey.
Designing Your Photobook
Creating a photobook is a rewarding way to preserve your memories and share your stories. The design process is crucial, as it encapsulates the theme, enhances the visual appeal, and ensures that your photobook conveys the intended narrative effectively.
Choosing the Right Theme
Selecting a theme aligns the overall feel and narrative of your photobook. For travel photo books, consider themes that reflect the destination’s culture or your adventures.
A wedding photo book might benefit from romantic or elegant themes, while a baby book could use playful or whimsical motifs. For a new home photobook, a cozy or domestic theme might suit best.
Selecting Photos and Layouts
Your photo selection should focus on quality over quantity; choose images that evoke strong emotions and memories. Balance your layouts by using both close-ups and wide shots, and consider how they flow from page to page. Organize them in a way that tells a story, using white space to avoid clutter.
- Photo Placement Example:
- Full-page: Hero image
- Top: Wide landscape
- Bottom: Two to three detail shots
Adding Text and Captions
Text and captions add context to your images. Use concise and descriptive language to complement, not distract from, your photos. Choose fonts that are readable but also reflective of your photo book’s theme—serif fonts for traditional looks or sans-serif for a modern feel.
- Font Tips:
- Titles: Bold and larger size
- Captions: Smaller and less prominent than titles
- Body text: Consistent and easy to read
Customizing the Cover
First impressions matter, and your cover is the first thing people see. Decide between a hardcover, softcover, or a linen-bound design based on your preference and the book’s purpose (e.g., coffee table book vs. casual album). The cover should feature a standout photo or title that encapsulates the essence of the photobook.
Optimizing Images for Print
Ensure your digital photos are at the highest resolution possible to avoid pixelation—generally, 300 dpi (dots per inch) is standard for print. Prior to printing, edit your images for consistent color and exposure. Reliable storage and backup of your digital photos are also essential before and after the design process.
The Craft of Photobook Assembly
Creating a photobook is a rewarding way to chronicle life’s moments, whether for your family, as a gift, or to show off your crafting skills. The assembly process is where creativity meets practicality, ensuring your memories are both beautifully presented and enduring.
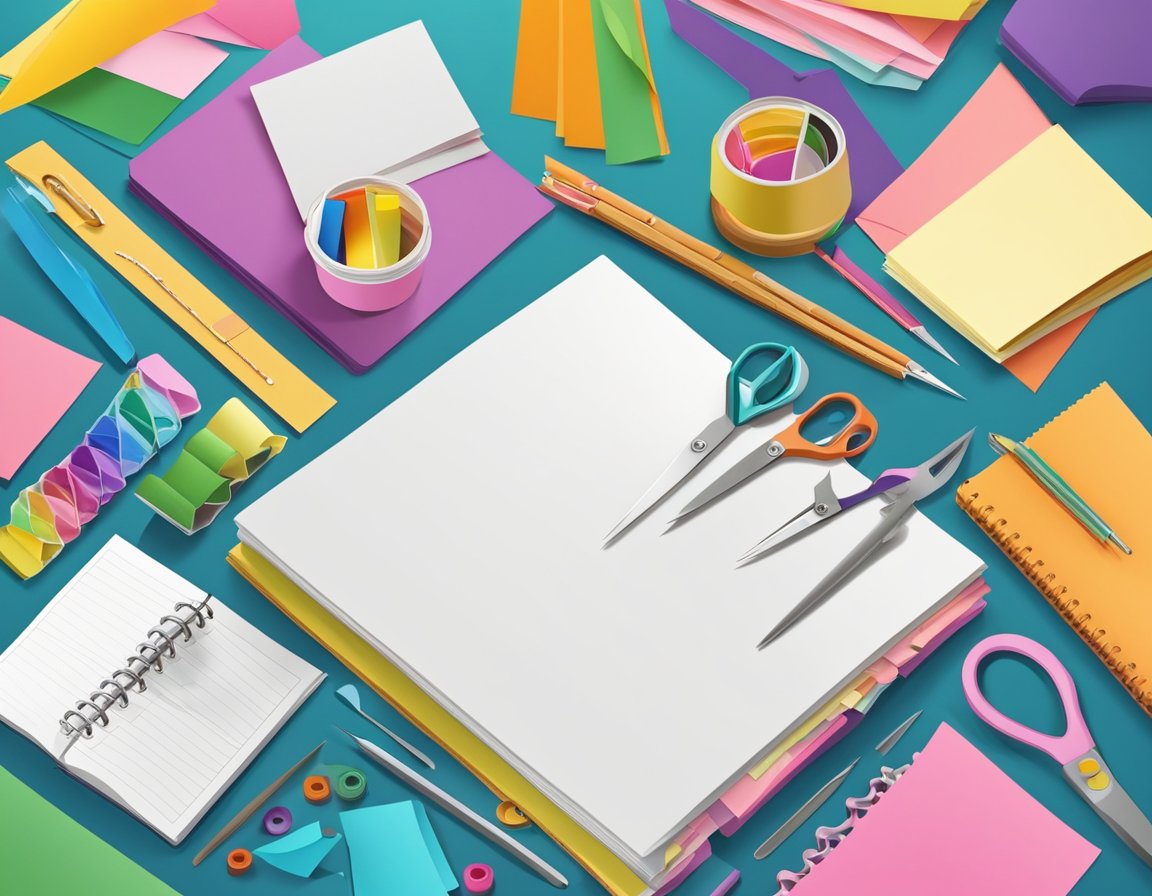
Choosing Your Materials
When selecting materials for your photobook, consider the purpose and audience. For instance, a softcover photo book might be suitable for casual events, while a robust hardcover offers elegance. Different paper types affect photo quality and feel, with matte finishes reducing glare and glossy choices enhancing color pop.
- Paper quality: Standard sizes include 8×8, 10×10, and 12×12 inches.
- Cover material: Choices range from high-quality leather to personalized photo covers.
- Tools needed: Have a bone folder for crisp folds and a ruler for precise measurement.
DIY Binding Techniques
Your binding choice dictates the book’s durability and usability. Layflat books allow images to sprawl across two pages with no interruption, best for panoramic shots or large family reunion photos.
- Saddle stitching: Good for smaller softcover books, and requires only a long-reach stapler.
- Japanese binding: Elegant and sturdy, requiring needle, thread, and patience.
- Bookwright or Blurb: Online platforms that facilitate DIY binding and printing.
Adding Personal Touches
Customization can transform your photobook from a mere collection of images into a cherished keepsake.
- Stickers and embellishments: Use these sparingly to highlight, not overshadow, your images.
- Handwritten captions: Add a personal story to each photo for children and parents to cherish.
Printing and Finalization
- Print quality: Use a high-resolution printer to ensure photos are clear and vibrant.
- Book size: Match the size of the book to your content, ensuring that none of your images are cropped uncomfortably.
- Final version: Before finalization, double-check the layout, text, and image quality.
Upload your photos and complete your personal touches, then head to your chosen service for printing and binding. The result will be a personalized photo book that captures not just images, but also the essence of your memories.
Conclusion
Creating your own photo book is a rewarding project that allows you to preserve memories and showcase your creativity. Remember to select your photos thoughtfully, aiming for diversity in angles and compositions.
Ensure your cover reflects the book’s intention, and don’t forget to infuse your personal style into every page. Your finished photo book will not only be a testament to your crafting journey but also a cherished item for years to come.