For many that love golf, the game is more than just a sport. It’s a source of joy, challenge, exercise, and (sometimes) frustration. However, between responsibilities and bad weather, finding time to play can be a challenge. Thanks to today’s technology, playing golf in the comfort of your own home with a golf simulator is now a reality and easier than ever.
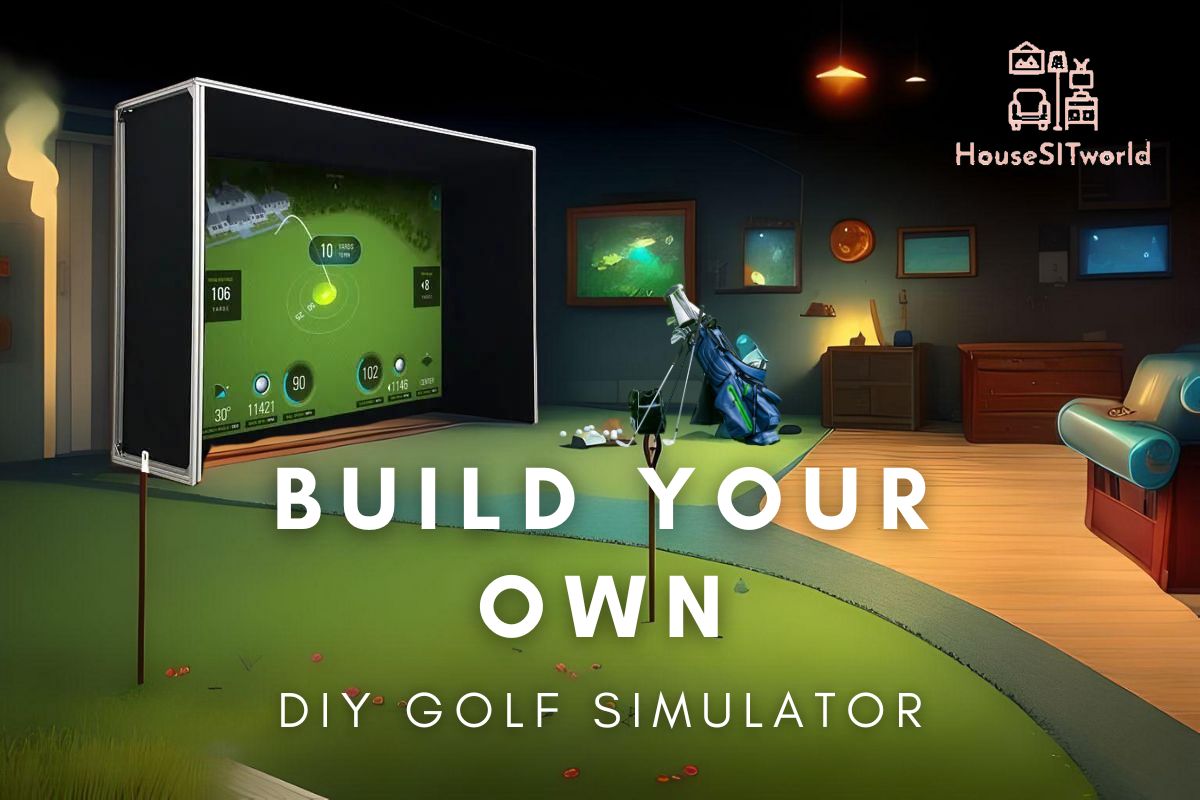
Though there are many people who find the best golf simulator for their needs through golf simulator packages, this article will focus on YOU the DIYer who wants to build your own golf simulator from the ground up. So, read on to find out exactly what you need and how to do it!
What is a Golf Simulator?
A golf simulator is a digital system that allows you to play golf in a virtual environment. These cutting-edge technologies enable you to play a round of golf from the comfort of your home, office, or any indoor space, regardless of the weather or time of day.
Benefits of Owning a Golf Simulator
The benefits of owning a golf simulator are many. First, you can play and enjoy the sport regardless of the weather conditions or location. Second, you can play with your family and friends, which is a great way to bond and spend time together. Lastly, you can work on your golf game and improve your swing without the need for a golf coach or instructor.
What is the Difference Between a Golf Simulator Package and a DIY Golf Simulator?
When choosing the right golf simulator for your home, two main options stand out: purchasing a pre-packaged golf simulator or constructing your own DIY golf simulator. Both options have their unique pros and cons, so let’s delve into what sets these two apart.
Golf Simulator Package
A golf simulator package is essentially an all-in-one solution for your indoor golfing needs. These packages come with all the necessary components, such as a launch monitor, golf simulator software, an impact screen, a projector, and a hitting mat, among other items.
One of the main advantages of a golf simulator package is its convenience. As everything is included in the package, you won’t have to spend time sourcing individual components. Moreover, these packages often come with professional installation services. A team of experienced installers will come to your home and set up everything for you, ensuring that all components are correctly installed and optimally configured.
However, golf simulator packages can be quite expensive. They also offer less flexibility in terms of customization as you’re essentially buying a predefined setup.
DIY Golf Simulator
On the other hand, a DIY golf simulator involves sourcing and assembling all the required components on your own. This option is perfect for those who love tinkering and have a knack for home improvement projects.
The main advantage of going the DIY route is the degree of customization it allows. You have complete control over each component and can tailor your indoor golf setup to your precise needs and budget. For example, you could opt for a higher-end launch monitor while saving on other elements like the projector or enclosure.
However, building a DIY golf simulator requires more time and effort. You’ll need to research, source, and assemble each component yourself, and ensure they all work together seamlessly.
In summary, a golf simulator package offers convenience and a professional setup but at a higher cost and with less customization. A DIY golf simulator, meanwhile, allows for a higher degree of personalization and can be more budget-friendly, but requires a significant time investment and a good deal of technical knowledge. Ultimately, the choice between the two depends on your budget, time availability, and personal preference.
Essential Components of a Golf Simulator: An In-Depth Guide
In this section, we will delve into the critical components that constitute a golf simulator, elucidating their function and importance. As you embark on building your golf simulator, these are the elements you’ll need to be successful:
Launch Monitor
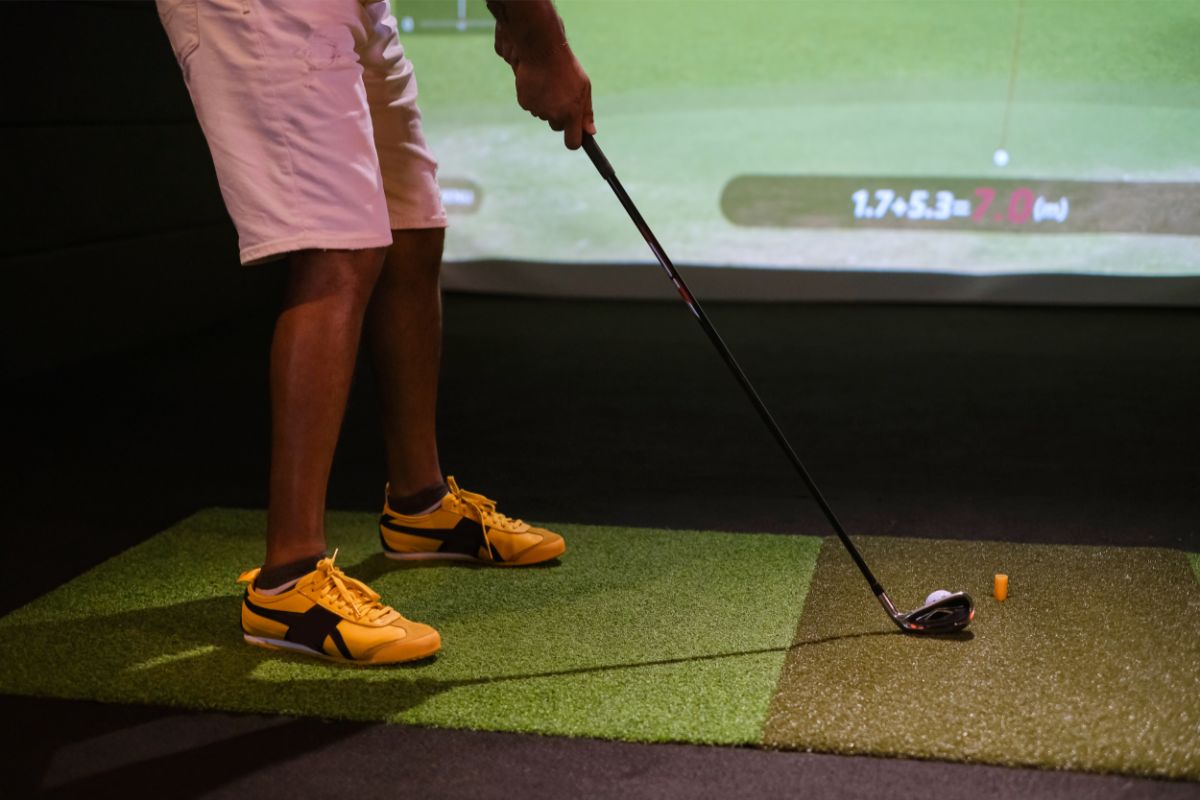
The Launch Monitor serves as the technological cornerstone of a golf simulator. It accurately captures vital data relating to the club and ball, such as ball speed, spin rate, distance, club head speed, and club path (and more). Essentially, a golf simulator cannot function without a Launch Monitor. Most affordable home-based, golf simulator setups opt for the camera-based Skytrak Launch Monitor to gather the necessary data.
If you’re just wanting to skip the research, go with the Skytrak or the Skytrak+ (the newer model of the two). This offers the best balance between cost, accuracy, and space-saving. For more information, check out this article on the best affordable golf launch monitors.
Software
The golf simulator software brings to life the data gathered by the launch monitor, creating an immersive virtual environment. It makes the difference between just having numerical data points and owning a true golf simulator. Whether you’re practicing on a virtual range, playing a round on a golf course, or challenging yourself with mini-games, the software is a must-have.
There are a number of popular golf simulator software applications that can be paired with launch monitors. Here are some of the most popular ones:
- GSPro: This software offers 4K graphics, realistic physics, and community features. Compatible with Uneekor and FlightScope launch monitors, it’s praised for affordability and high-quality course recreations.
- The Golf Club 2019 (TGC 2019): A PC-compatible software with a vast course selection, local multiplayer feature, online competition, and excellent graphics. It allows users to design courses and participate in online tournaments.
- E6 CONNECT: By TruGolf, this software works with systems like SkyTrak and FlightScope. It offers a driving range, full course play, mini-games, and online events, making it a versatile choice.
- Uneekor Refine: A software for Uneekor’s QED and EYE XO systems, it includes a 3D driving range, various modes, fitting capabilities, and OPTIX photographic technology for analyzing shots.
- Awesome Golf: Compatible with FlightScope launch monitors and others, this user-friendly software focuses on fun and entertainment, perfect for family and friends.
- Creative Golf 3D: Developed by DATAcrea, this software offers regular course play, practice modes, and unique mini-games. It’s compatible with SkyTrak, Uneekor, and FlightScope monitors.
- FSX 2020: Proprietary software for Foresight Sports’ commercial launch monitors. It offers a variety of game modes and global competition. A license is required for simulation.
- WGT Golf: Released by Topgolf, this software, primarily compatible with SkyTrak, offers stroke play format, a driving range, and closest-to-the-pin challenges. It can be played on multiple platforms but lacks multiplayer or skills challenges.
Projector
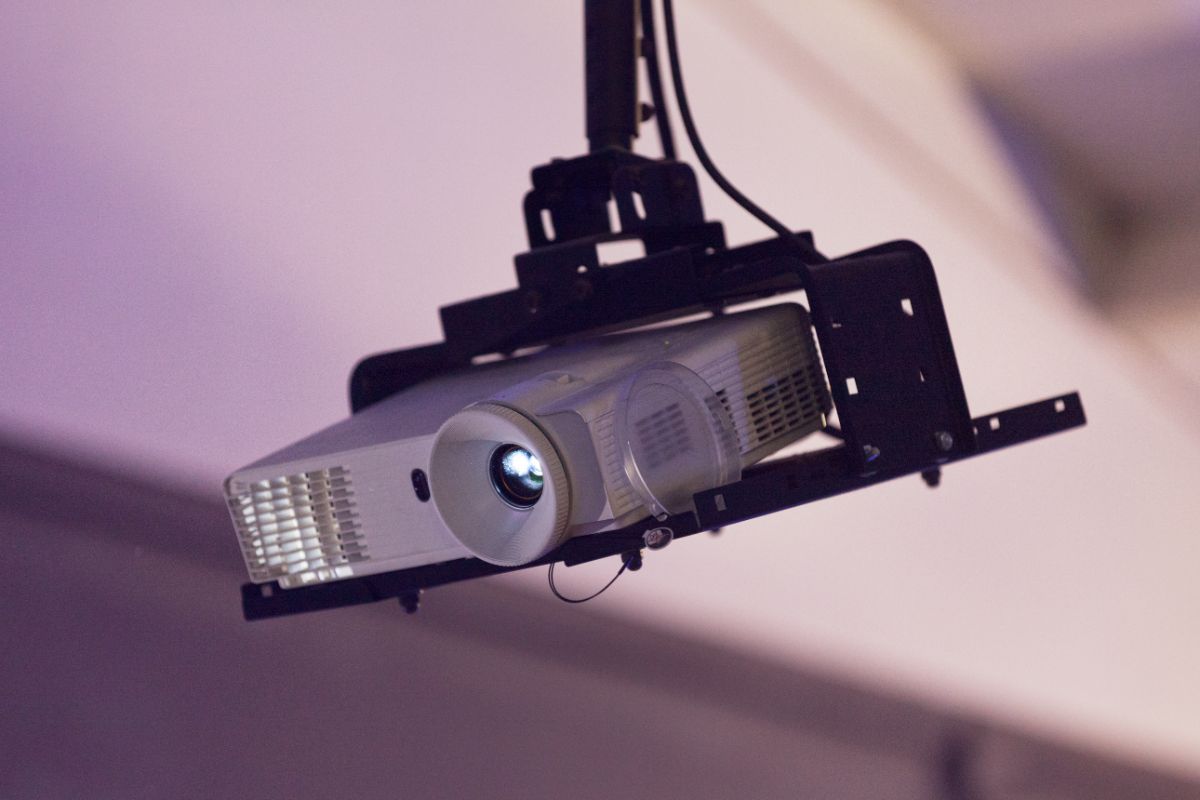
Although not essential, a projector significantly enhances the golf simulator experience. It beams the digital feed of the simulator software from your mobile device or PC onto the impact screen, allowing you to witness your ball flight in real-time. Modern options for projectors include lamp, LED, and laser variants. While lamp projectors are reliable and have stood the test of time, LED and laser projectors demand much less upkeep.
Impact Screen & Enclosure
The impact screen is the backdrop into which you strike your balls, doubling as the projection surface for your simulation software when using a projector. Enclosures, composed of side and upper walls, function to contain errant balls and prevent them from veering off course.
Though conventional simulator screens are flat, you can elevate your experience with a curved screen that extends to your periphery, providing a more immersive experience. These screens are crafted to bear the impact of balls traveling at extreme speeds, while enclosures should be constructed from robust materials to block external light, enhancing the projection visibility.
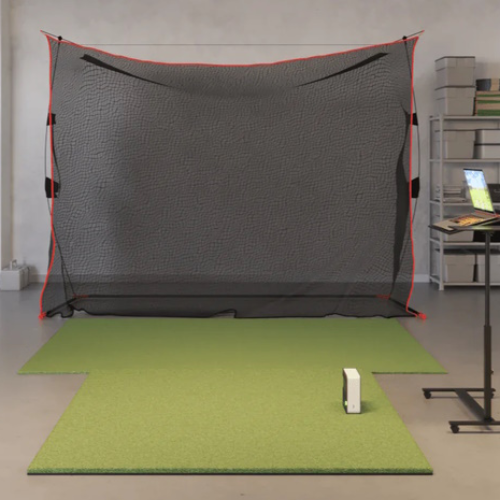
Net
As an economical alternative to a screen and projector setup, a net might come in handy. If using nets, viewing the golf simulation on your device is the norm, albeit with alternatives. For instance, you can route your software feed to your TV via HDMI and position the TV behind the net.
Similar to screens, nets are engineered to withstand the high-speed impacts of golf balls, effectively containing off-target shots. Certain nets are even designed to return the ball to your feet post-impact.
Hitting Mat & Landing Turf

Hitting mats and landing turf are indispensable, serving as a buffer between your golf shots and your carpet or hardwood floor. As the name implies, the hitting mat is the surface from which you strike your shots. It should mimic the realistic feel of a fairway while being gentle on your joints.
Meanwhile, the landing turf, positioned between the hitting mat and the impact surface, safeguards your floors. Apart from giving your simulator a polished look, it can also function as a putting and walking surface.
Other Items to Consider
Building your DIY golf simulator may involve other non-essential components such as:
- Floor or ceiling projector mounts
- Side barrier netting
- Monitor stands
- Lighting systems
- Putting greens
One of the advantages of DIY setups is the flexibility it affords. You can easily forgo optional components—for example, using a net as a cost-effective substitute for a screen enclosure—thereby achieving more savings.
Golf Simulator Room Requirements
Ceiling Height Requirements
For your golf simulator room, you need a ceiling height of at least 8.5ft to avoid hitting the ceiling when you hit the ball with your golf club. However, if you plan to use a driver or other clubs that require more headroom, consider increasing the ceiling height.
Recommended Room Size and Shape

The first thing you need to consider when building a golf simulator enclosure is the right space. The ideal location is a room that is rectangular with a minimum width of 12ft, length of 20ft and height of 8ft. The size of the room will vary depending on your setup, but always ensure you have enough space to play comfortably.
Lighting and Electrical Requirements
Good lighting is essential for your indoor golf simulator setup. The best lighting option is natural lighting, but if it’s not available, consider installing LED lights around the simulator room. Additionally, you need to have electrical outlets nearby for your projector, computer, and other devices.
Step-By-Step Guide to Assembling a DIY Golf Simulator
Building a DIY golf simulator is an exciting endeavor that brings the golfing experience into your home. The following step-by-step guide will help you assemble your own DIY golf simulator using the essential components.
Step 1: Set Up the Launch Monitor
Begin by setting up your launch monitor, the technological cornerstone of your simulator. The launch monitor captures crucial club and ball data to simulate your shots. Opt for a reliable option like the Skytrak or the Skytrak+ for a balance of cost, accuracy, and space-saving.
Step 2: Install the Golf Simulator Software
Next, install your chosen golf simulator software. This software brings the data captured by your launch monitor to life, creating an immersive golfing environment. There are several options to choose from, such as GSPro, The Golf Club 2019, E6 CONNECT, and Uneekor Refine, among others. Ensure the software is compatible with your launch monitor.
Step 3: Set Up the Projector
Although not essential, a golf simulator projector enhances the golf simulator experience. It projects the digital feed of the simulator software onto the impact screen. Modern projectors can be lamp, LED, or laser variants.
Step 4: Install the Impact Screen and Enclosure
Set up the impact screen and enclosure. The impact screen is where you hit your golf balls and serves as the projection surface for the simulator software. The enclosure contains any errant balls. You can opt for a flat or curved screen depending on your preference.
Step 5: Set Up the Golf Net

Alternatively, if you’re on a budget, you can use a net instead of a screen and projector setup. Position a TV behind the net, and route the software feed to your TV via HDMI for a better view.
Step 6: Position the Hitting Mat and Landing Turf
The next step involves setting up the golf mat and landing turf. These are essential to protect your floors from the impact zone of golf balls. Make sure the mat mimics the realistic feel of a fairway.
Step 7: Consider Other Items
Finally, depending on your budget and space, consider adding other items like projector mounts, side barrier netting, monitor stands, lighting systems, and putting greens. These can significantly enhance your DIY golf simulator experience. Remember, the advantage of a DIY setup is its flexibility, so feel free to customize it according to your needs.
Setting up the Golf Simulator Software
Types of Golf Simulator Software available in the market
There are several types of golf simulator software available in the market, and you need to choose the one that offers the features you need. Some software allows you to play on real golf courses, while others offer games and challenges to help improve your golf skills.
Installing and Setting Up Golf Simulator Software
When installing your golf simulator software, here are practical steps to follow:
- Check the Compatibility: Before installation, ensure that the software is compatible with your chosen launch monitor and computer system (Mac or PC). The software brand’s website will often provide a list of compatible devices.
- Download and Install: Depending on whether you purchased a physical copy or a digital download, you’ll need to insert the installation disk into your computer or download the software from the official website. Follow the prompts to install the software onto your system.
- Registration and Activation: Most software will require you to create an account and activate your software using a provided key. Be sure to store this key in a safe place for future reference.
- Follow Setup Prompts: The software will guide you through the setup process, prompting you to input specific launch monitor data, personal player profile, and preferences.
- Test Run: Test the software by taking a few practice swings. Make sure data is recorded correctly and reflected in the virtual environment.
Remember, the user manual and online tutorials can be beneficial if you’re uncertain about any step in the process.
Calibrating Your Golf Simulator System
Correct calibration is essential for accurate data readings. Here’s how to calibrate your system:
- Consult User Manual: Every launch monitor will have a unique calibration process. Consult the user manual or online tutorials specific to your model.
- Position the Launch Monitor: Place the launch monitor according to the manufacturer’s instructions. Usually, it should be at the same level as your hitting mat and a certain distance away from the ball.

- Check Alignment: The launch monitor should be square to your hitting line. Many devices have built-in alignment aids to assist with this.
- Set Up the Environment: Ensure that the room’s lighting and temperature meet the launch monitor’s specifications. Some devices may not perform well under certain conditions.
- Enter Correct Settings: Input your accurate settings in the software, such as altitude, temperature, and humidity.
- Test Calibration: Hit a few balls and see if the readings are accurate. Adjust if necessary.
Remember, calibration may need to be repeated over time or if you move your setup to ensure the most accurate results.
Final Thoughts
The development of golf simulators has revolutionized the world of golf, allowing enthusiasts to practice and enjoy their beloved sport from the comfort of their own homes. Through the process of building a DIY golf simulator, you can customize your setup to meet your specific needs and preferences while saving money as compared to purchasing pre-packaged golf simulator solutions.
Whether you’re a seasoned golfer looking to maintain your skill level, a newbie wanting to learn and practice at your own pace, or simply a golf enthusiast looking for a way to enjoy golf regardless of the weather, a DIY golf simulator offers an affordable, flexible, and fun solution.
By following this DIY guide, you will be able to build a home golf simulator without breaking the bank. Get ready to experience a realistic indoor golf setup and improve your skills any time of the year!
Frequently Asked Questions (FAQs)
What is the difference between a Golf Simulator and a Golf Launch Monitor?
A golf simulator allows you to play golf on a virtual course while a golf launch monitor measures the impact of your golf club and provides data to help you improve your swing.
Can I build a DIY Golf Simulator for my left-handed swing?
Yes, you can build a DIY golf simulator for your left-handed swing. Though above-mounted/radar-based launch monitors are more convenient for left and right-handed players to play together.
What is the recommended ball flight distance for building a Golf Simulator?
The recommended ball flight distance for your indoor golf simulator setup is 10ft-12ft to ensure you have enough space to hit your golf club comfortably.